GeoRAMS Announcements
GeoRAMS has an announcements mechanism that allows system administrators to communicate information to the system users. Communications could include a notification of system downtime due to scheduled maintenance, or notification regarding a new feature that has been added.
Creating an announcement
To create an announcement, choose the Announcements item on the user menu.

On the Announcements page, click the New Announcement button.

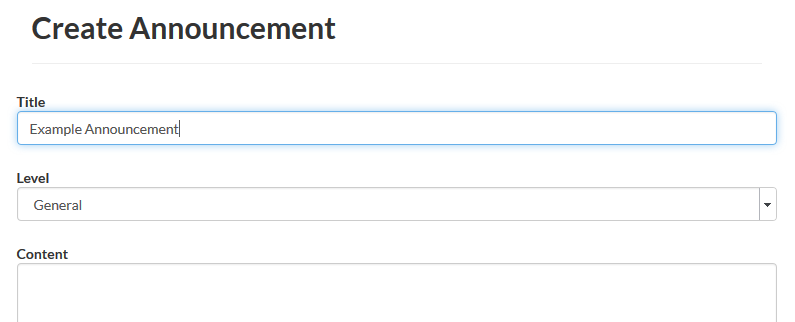
On the Create Announcement page, first fill in a title for your announcement. This will be displayed as a heading for the announcement.
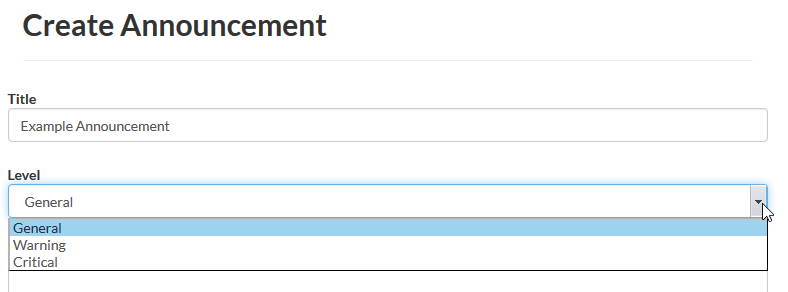
Next, choose the level of the announcement. The levels refer to the urgency of the announcement. The announcement background colour will change according to the level. General is white, Warning is orange, and Critical is red.
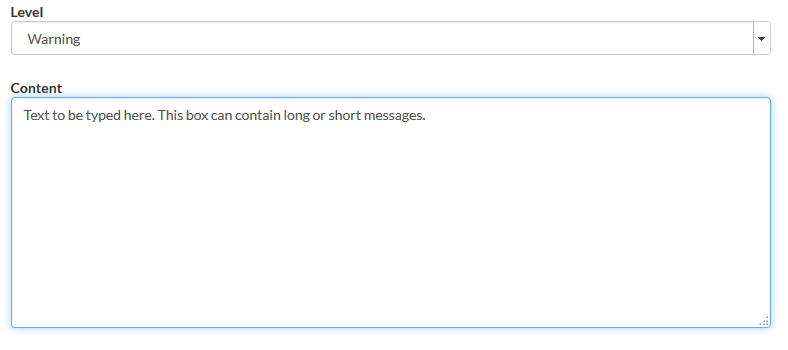
Now type in the text of your announcement into the Content box. Content is compulsory, you cannot leave this empty.
The next two options determine where and to whom the announcement will be displayed.
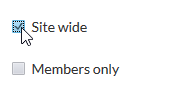
If Site Wide is ticked, the announcement will be shown at the top of every page; otherwise it will only be shown on the Home page.
If Members only is ticked, the announcement will only be shown to logged in users; otherwise it will be shown to all visitors to the site.
The Dismissal type sets whether a user can dismiss the announcement or not.
No Dismissals Allowed means that the user can not close / dismiss the announcement.
Session Only Dismissal means that the user can close the announcement, but it will be shown again when the user logs in at another time.
Permanent Dismissal Allowed means that the user can permanently close the announcement. It will not be shown again to that user.

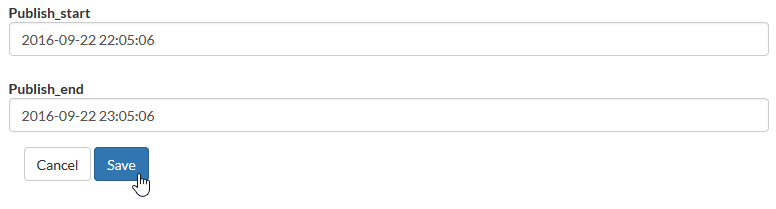
Publish Start defines the date and time that the announcement will start showing. The system fills in the current date and time for you, but you can edit this if you want to have the announcement show at some other date and time in future. You can therefore schedule the publication date and time for each announcement.
Please note that there is no date and time picker yet, you have to type the value into the box in the correct format: yyyy-mm-dd hh:mm:ss
Publish End defines the time that the announcement will stop showing.
You have to type in the date and time at which the announcement expires.
As above you will have to type in the value into the box in the correct
format.
Finally click the Save button to create the announcement.
The main announcements page will load. Because we have chosen a site wide announcement, you can now see the orange announcement at the top of the page.

You can click the cross in the top right corner of the announcement to dismiss it if dismissals are allowed.
Editing an announcement
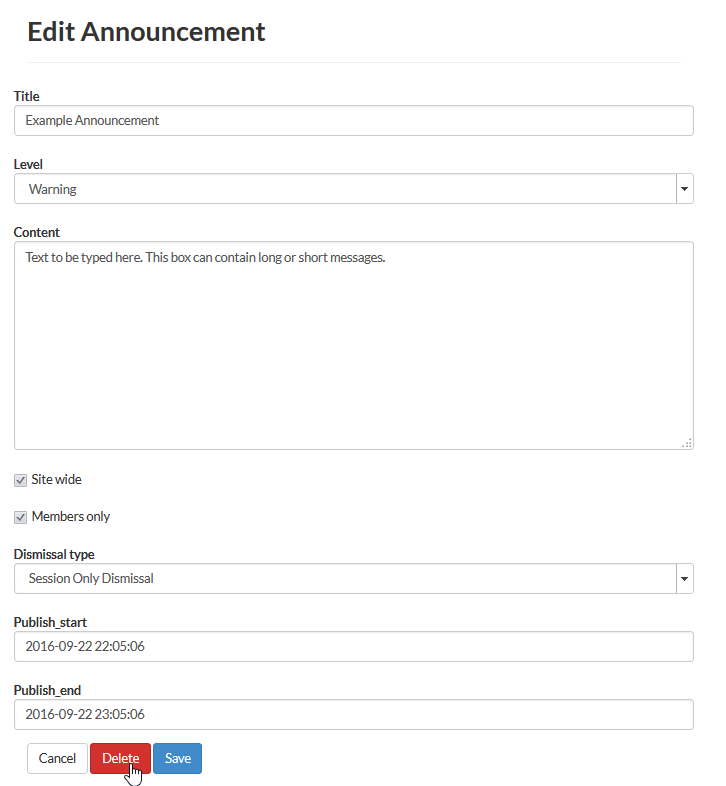
The main announcements page contains a listing of current announcements. You can click the blue announcement title to enter the Edit Announcement screen.

On the Edit Announcement screen, you can change any of the settings or content as discussed above. You can then Save the edited announcement, or you can choose to Delete the announcement by clicking the red Delete button.
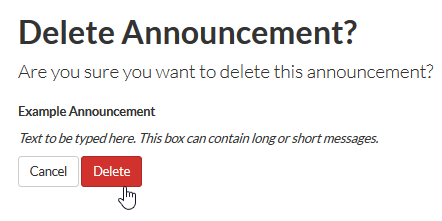
A confirmation page will open. If you are sure you want to delete the announcement, click Delete, otherwise click Cancel.