How to build and work with Queries
To have a new Dashlet pinned on the dashboard the user first need to create a query. The queries created can then be displayed as Dashlets on the Dashboard.
Click on Queries to see a list of existing queries or create new queries.

In the query window, the user will see a list of existing queries under:
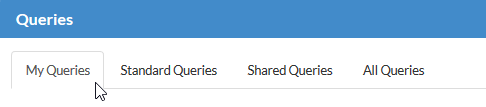
My Queries - All the queries created by the logged in user,
Standard Queries - Queries created by any user, set to standard, these queries can be accessed by all users but only be modified or deleted by the user that created it.
Shared Queries - Queries shared by the user, can be accessed by all users.
All Queries - Lists all queries
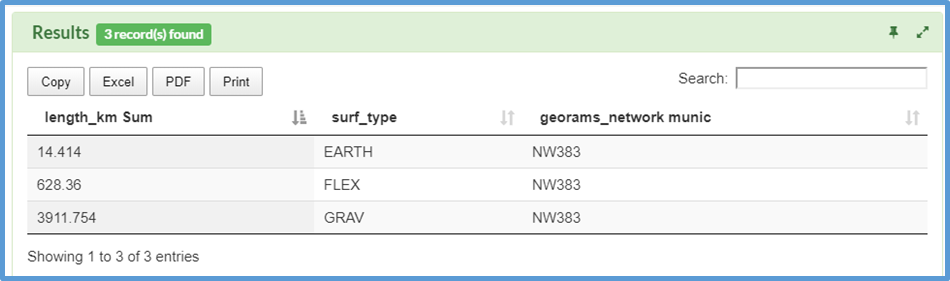
*The query: Show the total length in km of the road network inventory per surface type.*
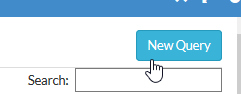
To Create a new query, click on New Query
Choose the layer to use for your query. The query window will open listing the selected layer and all other layers linked to the selected layer.

The query window will open listing the network layer and all other layers linked to it.
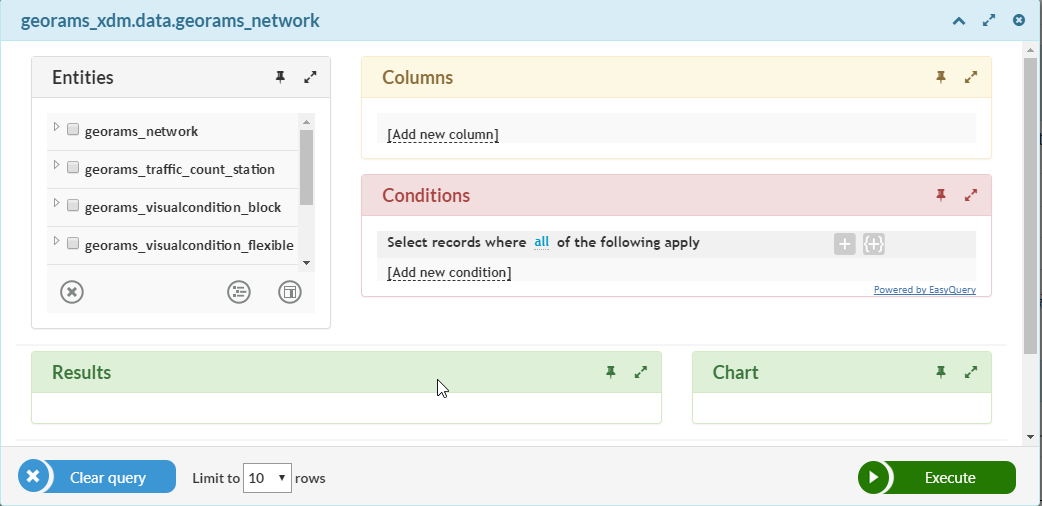
Entities - this is the window that list the layers and linked/joined layers.
Columns - here the user will list the columns from the database table query from and to view in the Dashlet on the dashboard.
Condition - In this area the user can set the condition of the query, like eg. Show all the values where the Municipality is equal to “the Municipality name”
Selecting query columns
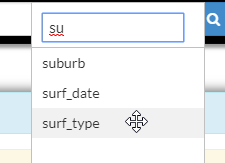
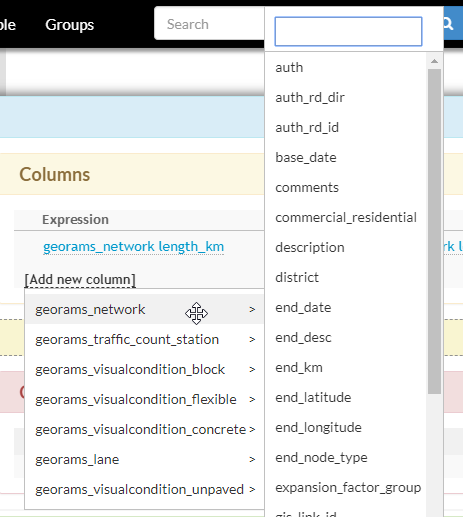
To start creating query click on Add new column in the Columns block and select a database table and column you would like to be included in your query. *Tip: to quickly find a column you can type the name of the column in the search dialog box. The list will be filtered as you type.*
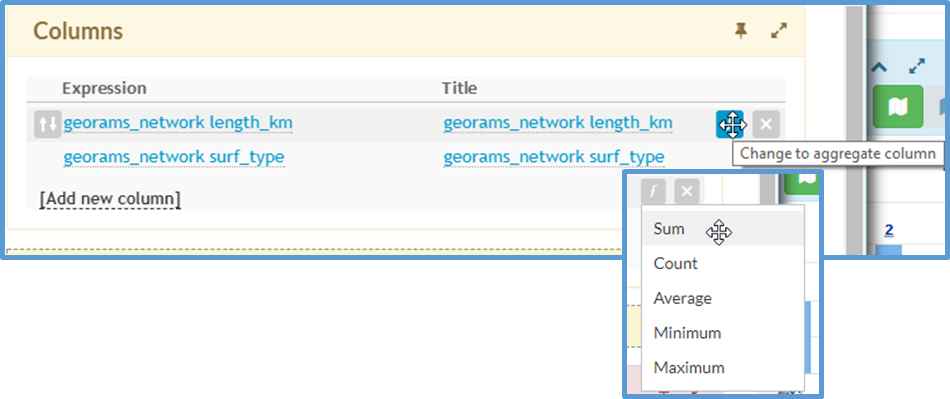
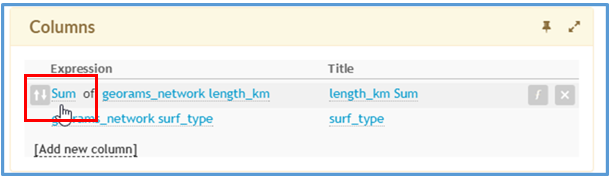
Now we have 2 columns listed for the query. To calculate the total length per km of the road length
we need to sum the values.

The function symbol at the end of each row, allows you to perform a list of mathematical functions for the data in the selected column.
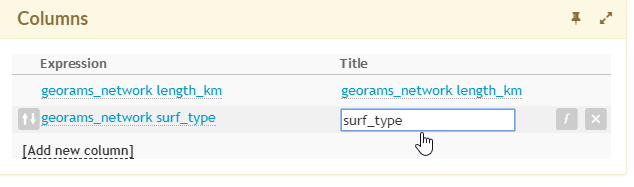
The selected column will be listed in the columns window. You can change the title of the column by clicking on it. The information you type under the title heading will be displayed on charts, tables and pivot tables, so make it short and descriptive. Follow the same steps to add more columns.
Please note that the functions available are dependent on the data type of the column e.g. a text data type cannot be summed.
Functions are useful if you have time series data (i.e. yield results taken over a period of time) that you would like to summarise, for example, the average yield per borehole. If you do not use the function feature, you will get a list of all the yield results for a borehole collected over time.
If a function has been used, you will see a description of the type of function appended to the description as shown above. Cancel the function by clicking on the function button.
Adding conditions to your query
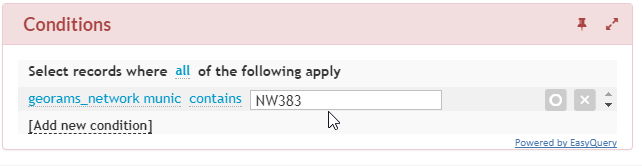
You can add multiple conditions to your query. This filters the results to only the records matching your query condition(s). Click on Add new condition and select a database table and column you would like to set a condition for. Once a field has been added, you can select a condition and enter a value.
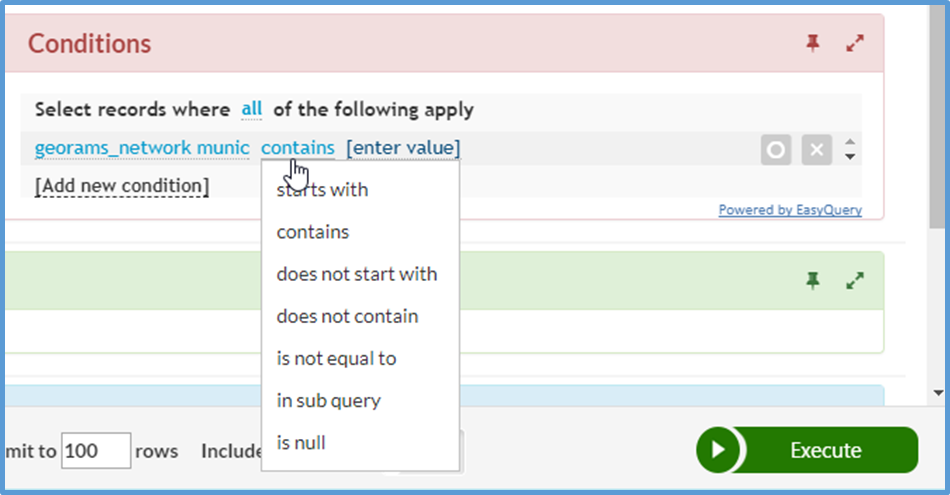
You can add more conditions in the same way. Click on Add new condition to add more conditions or filters.
Executing the query
If you are satisfied with your query you can click on the Execute button
The query will run and return three types of results:

Once the query is created it can now be saved. Click on Save query.

Type a name and description for the query and configure the rest of the properties as indicated below. Ignore the properties not shown in this document (for admin users).
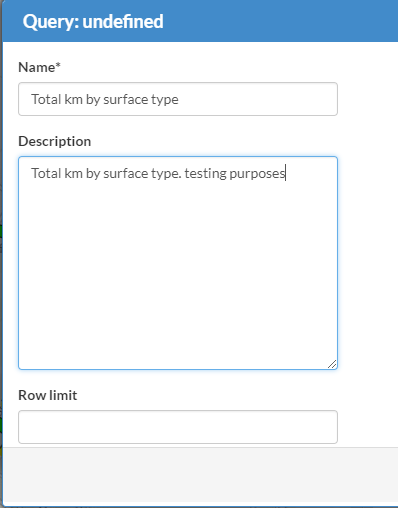
Row limit – this setting limits the number of rows the query returns. Leave blank unless you want to override the settings when you ran the query.
Is active – this is a setting to enable or disable a query. Make inactive if you do not want users to use the query.
Is shared – The query is shared and can be used by all users. Don’t select if you want this query only to be visible to you.
Is standard - The query is listed under standard, can only be modified or deleted by the user that created is. This is typically used by the administrator of the system to create standard queries for all to use.
Click on SAVE to and close the query window.

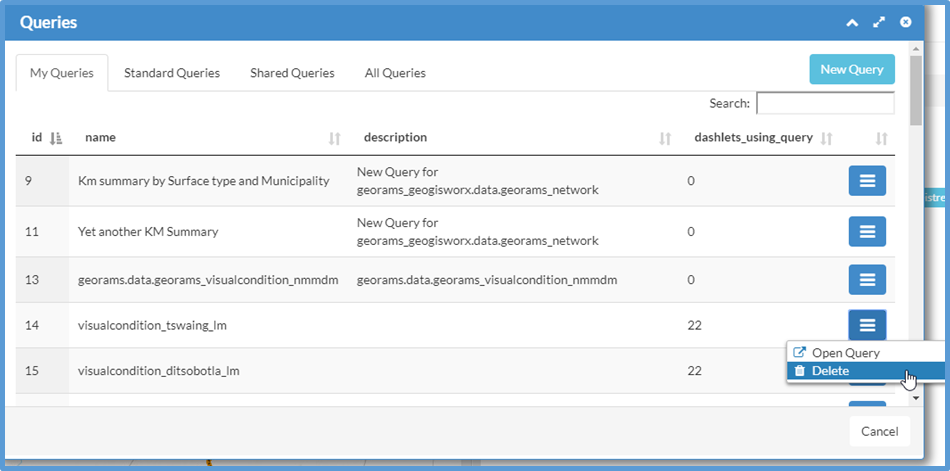
Editing or deleting a query
To view the saved query, go to Dashboards and click the Queries button

The new query is appended to the bottom of the query list. If you click on the menu button, you will be able to delete the query or open the query for editing.